Swapping out an old toilet seat is one of the easiest home fixes you can make…and yes, you can do it yourself. Whether you just moved in, finished a home inspection, or noticed some wear and tear, this quick project takes less than 15 minutes and only a few tools. Here’s everything you need to know about how to install a toilet seat the right way, without the confusion.
Why You Might Need a New Toilet Seat
Toilet seats wear out over time. Cracks, wobbly hinges, or stains that won’t go away are common reasons to replace them.
If you’ve recently had a home inspection, your inspector may have even flagged a loose or damaged seat in the report. It’s a small detail, but it can be a safety and hygiene issue, especially for kids or older adults.
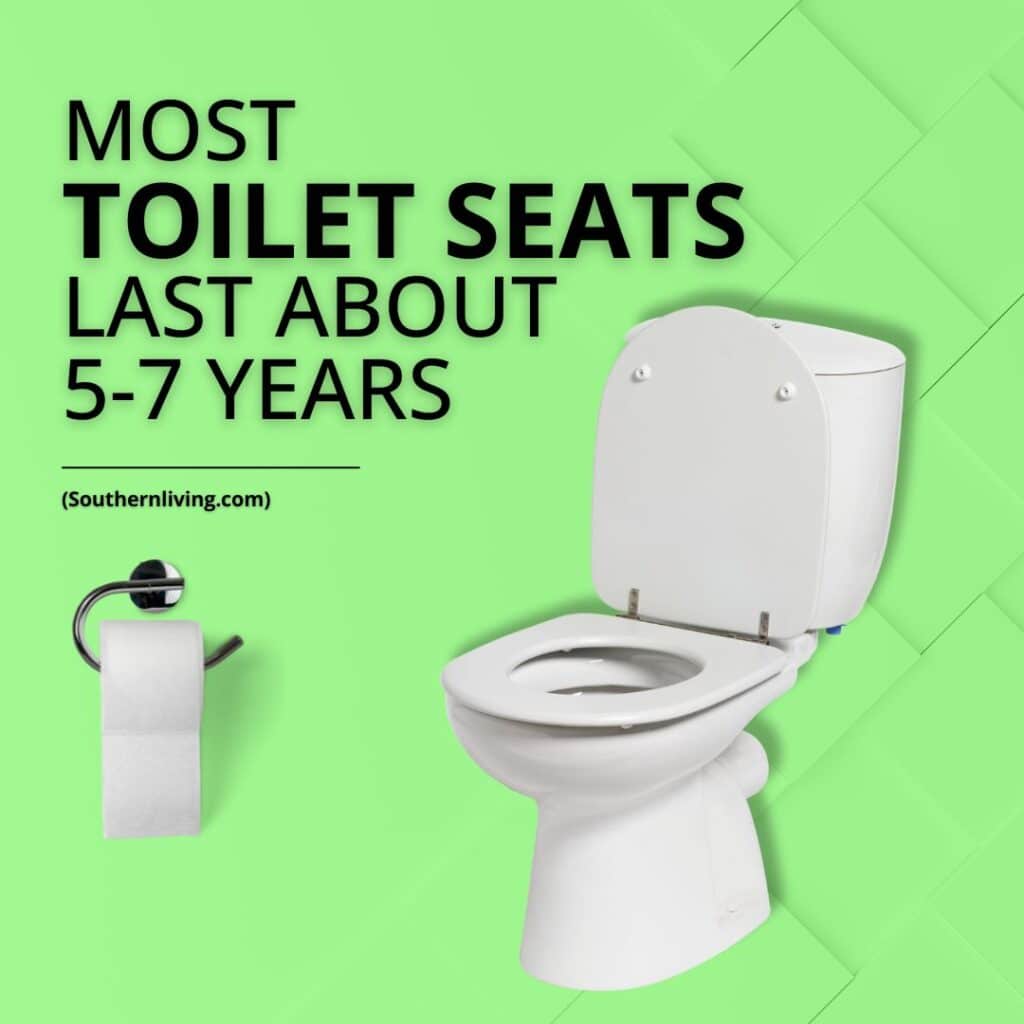
Most toilet seats last about 5 to 7 years, depending on the material and how often they’re used. If yours is overdue or just plain uncomfortable, it’s probably time to upgrade.
What You’ll Need
Good news: you don’t need a toolbox full of equipment. Most toilet seats come with everything included, but having these basic items on hand will help:
- Flathead screwdriver
- Adjustable wrench or pliers
- Disinfectant cleaner
- Tape measure (optional, to double-check fit)
Before you buy a new seat, make sure you check whether your toilet bowl is round or elongated. Most homes use one of these two standard sizes, but mismatching them can lead to gaps or poor alignment.
Tip: The distance between the bolt holes at the back of the toilet is usually about 5.5 inches on standard models.
Step-by-Step: How to Install a New Toilet Seat
1. Remove the Old Seat
Start by popping open the plastic bolt caps at the back of the seat. Use a screwdriver to hold the top of the bolt while loosening the nut underneath with your wrench or pliers. Once both sides are unscrewed, lift off the old seat.
2. Clean the Area
Use a disinfectant to clean around the bolt holes and rim. This is a good time to get rid of grime or build-up that’s been hiding underneath.
3. Line Up the New Seat
Place the new seat on the bowl, lining up the holes with the bolts. Drop the bolts through the holes, then attach the nuts underneath.
4. Tighten the Bolts (Or Secure the Snaps)
Start tightening the bolts by hand to make sure everything lines up properly. Then use your wrench to snug them up. Don’t over-tighten, or you might crack the plastic or ceramic.
5. Test for Movement
Gently wiggle the seat side to side. If it feels loose, tighten a little more. Everything should feel solid and centered.
That’s it! You’re done.
Common Mistakes to Avoid
Even a simple DIY project can go sideways. Here’s what to watch out for:
- Over-tightening the bolts can crack the seat or bowl
- Buying the wrong size (always check if you have a round or elongated seat)
- Skipping the cleanup underneath the old seat, which can leave behind bacteria
- Ignoring a wobbly seat after installation. A loose seat can lead to cracked hinges or even injury over time
How Much Does It Cost to Replace a Toilet Seat?
This is one of the most budget-friendly home fixes you can make. Here’s a quick breakdown:
- New toilet seat: $15 to $50 depending on material and brand
- DIY installation: Free
- Plumber installation (if needed): $50 to $100
According to HomeAdvisor, most plumbers charge a flat rate for small tasks like this.
But unless the bolts are rusted or the toilet has damage beyond the seat, you can likely handle this one on your own.
Other Recommended Maintenance
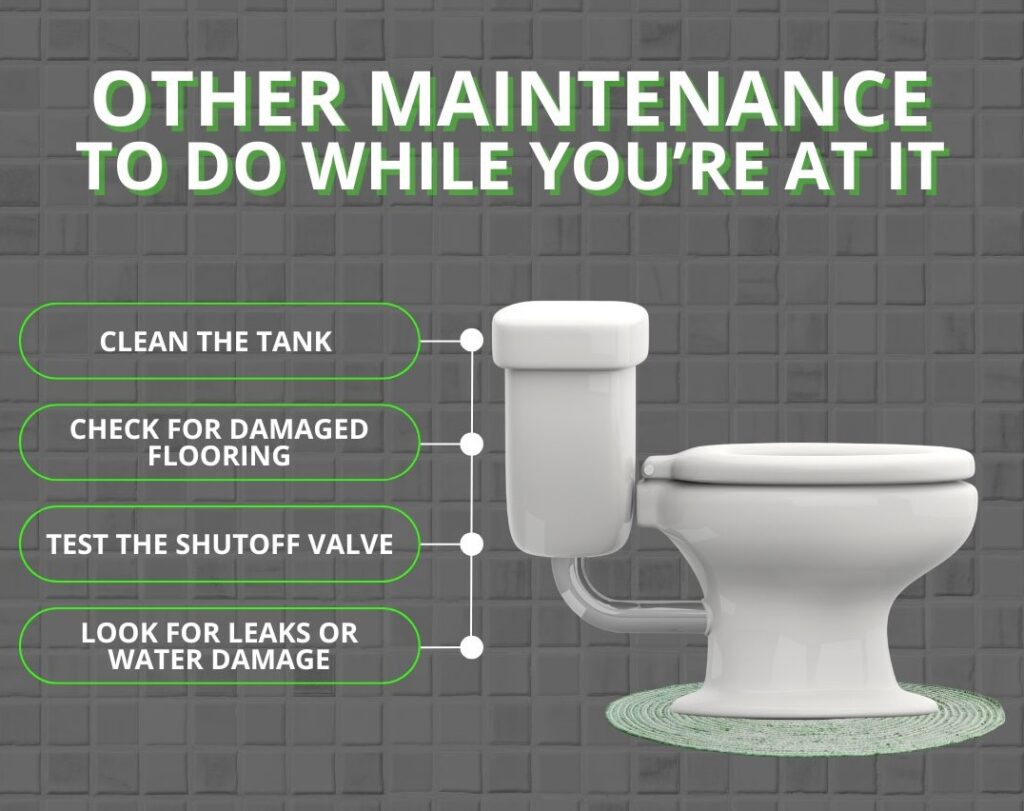
If you’re already working in the bathroom, it’s a smart time to do a quick check of other high-use components:
- Look around the base of the toilet for signs of leaks or water damage
- Test the shutoff valve and make sure it turns easily
- Check for any soft or discolored flooring nearby
- Clean the tank and flush mechanism if it’s been a while
Small checks like these can help you catch issues early before they turn into expensive repairs.
When to Call a Professional
There are a few cases where calling in help makes sense:
- The bolts are corroded or stuck
- The toilet moves when you sit down (could point to a bad flange or loose base)
- You notice any leaking, strange smells, or shifting floor around the toilet
These could be signs of deeper plumbing issues or moisture damage. During a home inspection, Avalon’s team often spots signs of hidden water problems that the average homeowner might miss.
Final Thoughts
It’s simple and low-cost to install a new toilet seat and replace that old one. Plus, you make your bathroom feel cleaner and more comfortable.
Whether you’re tackling it after a move, an inspection, or just because it’s time, this is one job most homeowners can do without stress. Need help identifying what other small issues might be hiding in your home? Avalon Home Inspections is here to help spot problems early and protect your property’s value, before they grow into costly repairs.