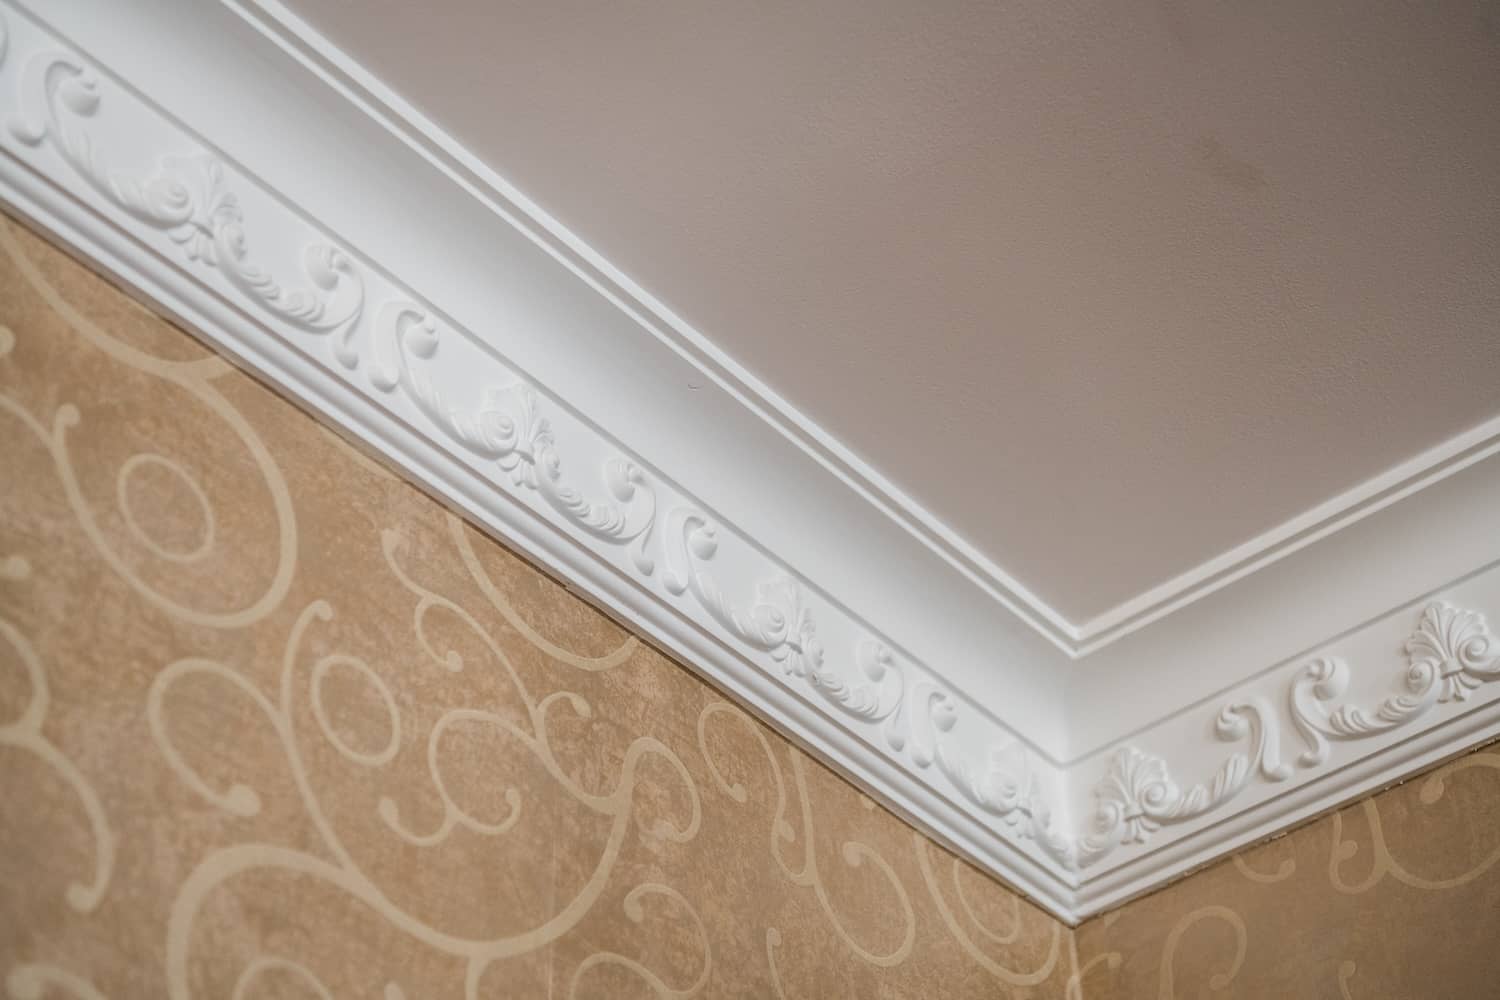
Renovating your home can be an invigorating journey, revealing the hidden potential of your living spaces. One such transformative element is crown molding, which lends a refined touch to any room. Planning how to cut crown molding might initially seem daunting, but with the correct tools and techniques, you can master this skill like a seasoned professional. This blog post will provide you with a comprehensive, step-by-step guide on how to get the job done.
Understanding the Basics of Crown Molding
Crown molding comes in various types, including cove and ogee, each lending a distinct aesthetic appeal. Measuring the molding correctly is vital to ensure a perfect fit. Familiarize yourself with terms like ‘inside corner’ (where two walls meet and form a hollowed angle) and ‘outside corner’ (where they form a solid angle) – these will be crucial when it comes to cutting.

Gather the Necessary Tools and Materials
Before diving into the cutting process, make sure you have all the required tools and materials at hand. These include:
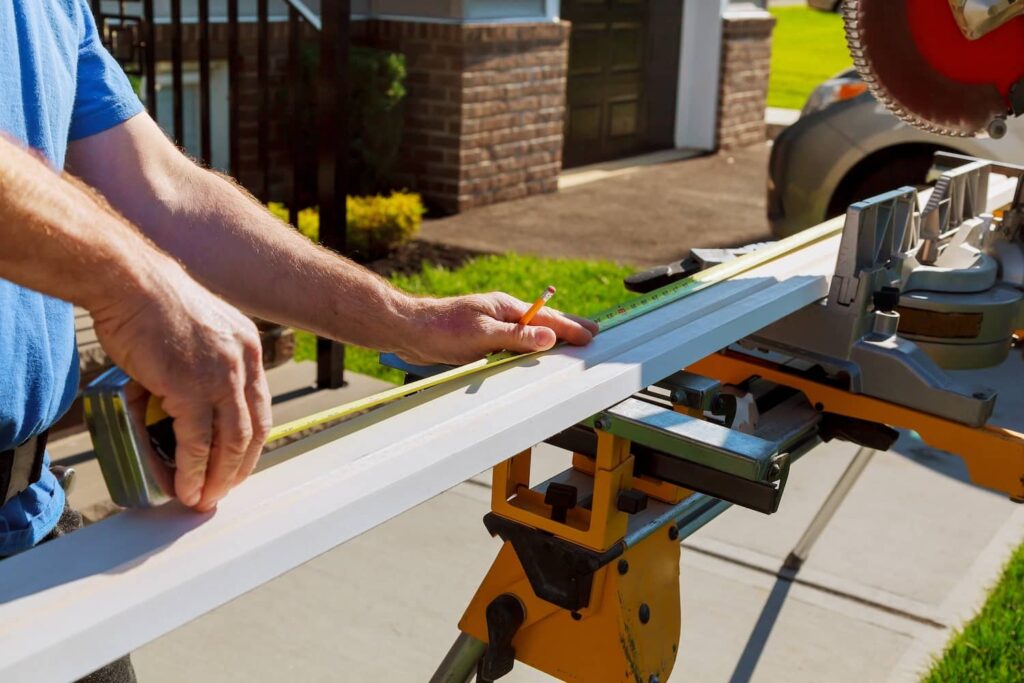
- A miter saw (ideally with a compound feature for added flexibility, and a fine-toothed blade suitable for trimming molding.)
- A coping saw for inside corner cuts
- A tape measure for accurate measurements
- A pencil for marking
- Safety goggles and ear protection to ensure safety
- A clamp to secure the molding during the cutting process
- The crown molding itself, available in various styles and materials
Preparing Your Workspace
Preparation is key to success. A clean, well-lit workspace can significantly enhance your efficiency and safety. conveniently organize your tools and materials to ensure smooth workflow and prevent accidents.
The Step-By-Step Process to Cut Your Crown Molding
Measure Properly for Accurate Cuts
For a professional-looking job, accurate measurements are key. Begin by measuring the length of the wall where the molding will be installed. Write down this measurement to avoid confusion during the cutting process. Next, use the tape measure to determine the required angles for the corners – remember that most walls are not perfectly square. Measure from both the baseboards and ceiling, as these areas may vary in height. Use a pencil to mark each measurement clearly on the molding.
Make Outside Corner Cuts
When making cuts for outside corners, set the miter saw at a 45-degree angle. Place the molding against the saw fence, ensuring that the bottom edge rests flat on the saw table. Align the pencil mark with the blade, then carefully cut, maintaining a steady hand. Practice on scrap pieces before working on the actual crown molding to perfect your technique.
Create Inside Corner Cuts
For inside corners, flip the process. Set the miter saw to a 45-degree angle in the opposite direction. Place the molding flat against the fence and table, aligning the pencil mark with the blade. Cut the molding accordingly. To achieve a seamless fit, use a coping saw to carefully follow along the profile of the molding, removing any excess material to create a snug joint.
Install and Fine-Tune the Crown Molding
With all the necessary pieces cut, it’s time to install and fine-tune them. Begin by placing the crown molding against the wall, ensuring proper alignment with the corners. Use a clamp to hold the molding firmly in place while making adjustments. If there are gaps or uneven edges, employ a coping saw or sandpaper to trim them down for a perfect fit. Repeat this process for each section of the molding until you achieve a seamless, professional look.

Other Recommended Maintenance for Crown Molding
Crown molding, while a durable addition to any room, requires regular maintenance to keep it looking its best. This goes beyond just dusting – although that is an essential part of the process. Dust and dirt can accumulate on molding, especially in the crevices, and should be regularly cleaned off to prevent build-up.
Additionally, inspect your molding every so often for signs of wear and tear. If the paint begins to chip or peel, it might be time for a fresh coat. Remember, when repainting, to carefully prep the area by lightly sanding the surface and applying a primer if necessary.
Minor damages, such as nicks or scratches, can also occur over time. Fortunately, these can often be easily repaired using a bit of wood filler. Once the filler has dried, sand the area until it’s smooth, and then touch it up with paint.
When to Call a Professional
While the DIY route can be enjoyable and rewarding, there are certain situations where calling a professional is advisable. Complex cuts, such as those required for vaulted or cathedral ceilings, can be tricky and require a high degree of precision. Also, if you’re working on a historical home and want to preserve the original features, a professional with experience in restoration work will know how to cut crown molding for your exact needs.
When choosing a professional, there are a few things to consider. Experience in the field is a must, as is a good reputation. Check reviews and ask for references. Also, be sure to look at a portfolio of their past work to ensure their style and approach align with what you’re looking for. A good professional will also offer a consultation and provide a quote before beginning work so there are no surprises down the line.
Conclusion
Cutting and installing crown molding is a task that requires precision, patience, and the right tools. But with careful planning, the right preparation, and following the steps outlined in this guide, you’re well on your way to mastering this skill. Remember, while it might seem like a lot of work, the transformation it brings to your space is well worth the effort. So, don’t be afraid to give it a try – you might be surprised at what you’re capable of. While you’re renovating your crown molding, feel free to reach out to Avalon Home Inspections to ensure everything is in good shape before finishing your project!


