Have you ever stepped into the shower and immediately found yourself standing in a pool of slowly draining water? If so, you understand the importance of a well-functioning shower drain. This crucial shower component doesn’t just whisk water away—it protects your bathroom from water damage, prevents mold growth, and contributes to a cleaner, more hygienic showering experience. If you’ve never done it yourself, you may be a bit unsure of how to install a shower drain.
In this article, we’ll go over what you need to know before, during, and after drain installation to ensure maximum function and longevity. Let’s dive in!
Understanding Your Shower Drain
First things first, it’s helpful to understand the different types of shower drains available, which kind you have, and how they work:
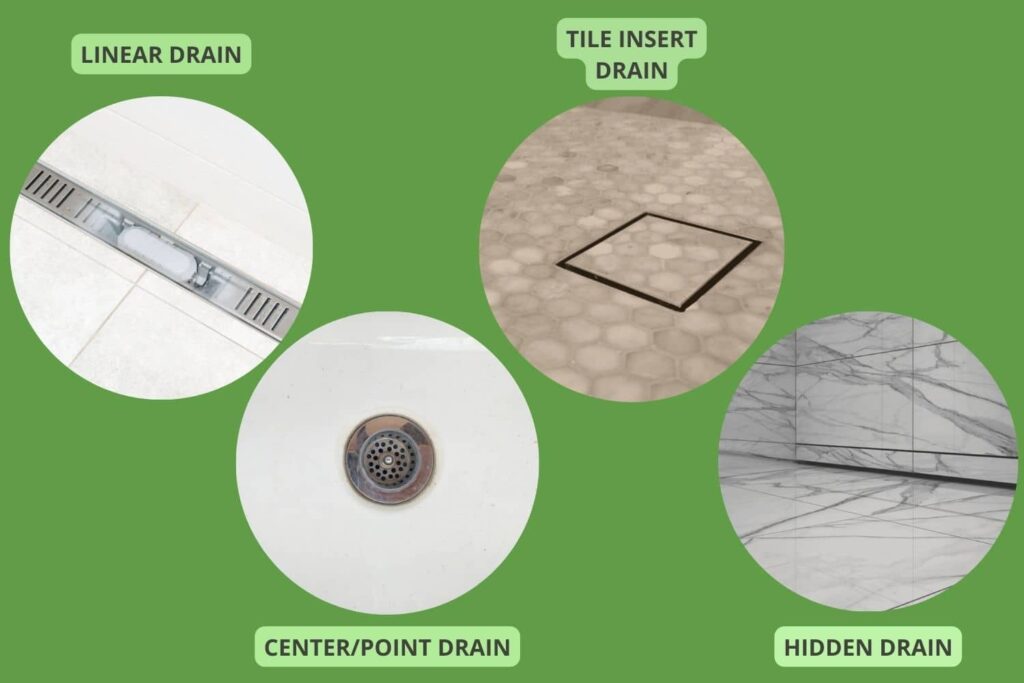
- Linear Drains: As the name suggests, these drains are long and rectangular. They typically sit along one shower edge, allowing water to flow into a single, extended outlet. This design can be especially helpful in large showers where water may come from multiple directions.
- Point Drains: Also known as center drains, these are the most common type of shower drains. They’re typically round or square and located in the center of the shower floor.
- Tile Insert Drains: These types of drains allow you to insert a tile that matches your shower floor into the drain cover, creating a seamless look. They can be linear or point drains.
- Hidden Drains: Hidden drains are designed to be almost invisible, often integrated into the wall or the shower floor subtly.
How a Shower Drain Works
A shower drain doesn’t just release water—it’s a system engineered to use gravity effectively. When the shower is on, water flows down the drain and into a trap below. This trap, often shaped like a “P” or “S”, consequently retains a small amount of water to prevent sewer gases from rising back into the bathroom.
Furthermore, the trap moves water down the drainpipe and into your home’s sewer system or septic tank. This efficient, sanitary process protects your home from water damage and unpleasant odors. Understanding your shower drain helps you choose and install the right type correctly!
Tools and Materials Needed
Installing a shower drain requires some specific tools and materials. Having these on hand before you start will make the process smoother and more efficient. Here’s what you’ll need:
- New Shower Drain: Choose the type of shower drain that suits your bathroom’s aesthetic and functional needs. Additionally, you can refer to the previous section for more information about the different types of drains available.
- Wrench or Pliers: These will be for tightening and loosening connections during installation. A pipe wrench or channel-lock pliers can be particularly helpful.
- Screwdriver: You’ll likely need a screwdriver to attach the drain to the shower base. The type (flathead or Phillips) will depend on your specific shower drain model.
- Plumber’s Putty or Silicone Sealant: This is used to create a watertight seal between the shower base and the new drain. Some may prefer silicone for its longevity, while others prefer the easy workability of plumber’s putty.
- Plumber’s Tape: Also known as Teflon tape, this is used for sealing and lubricating thread connections to prevent leaks.
- Hacksaw or PVC Cutter: If you need to adjust the length of the drainpipe, a hacksaw or a PVC cutter will do the job.
- Measuring Tape: To ensure accurate fitting, you’ll need to measure the diameter of the drain hole and the length of the pipe.
- Safety Gear: Don’t forget safety glasses and work gloves to protect yourself during the process.
Keep in mind that the specific tools and materials may vary slightly based on your shower and drain type. Always refer to the manufacturer’s instructions that come with your shower drain for complete details.
Steps to Install Your New Shower Drain
With your tools and materials all set, you’re ready to install your new shower drain. This process involves four main steps:
Step One: Removing the Old Shower Drain
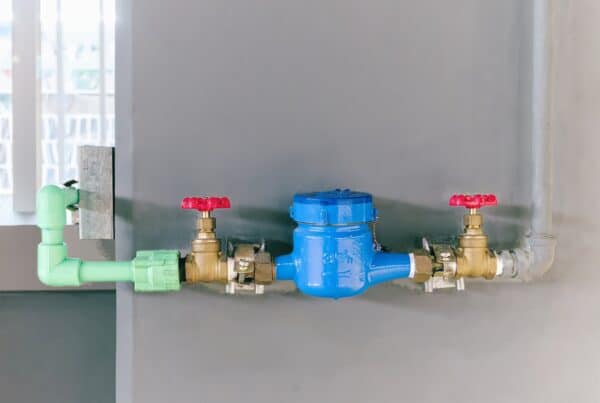
Turn off the Water: First, make sure to turn the water off to prevent any accidental flooding.
Remove the Drain Cover: Often, this involves unscrewing the cover with your screwdriver. However, some drain covers may simply lift off.
Loosen the Drain: Using your wrench or pliers, loosen and remove the old shower drain. Be careful not to damage the surrounding shower base.
Step Two: Preparing the New Shower Drain
Measure the Drain Hole and Pipe: Next, use your measuring tape to get accurate measurements of the drain hole and the drainpipe length. This helps ensure a proper fit.
Prepare the Drain and Pipe: If necessary, cut your new drainpipe to the correct length using your hacksaw or PVC cutter.
Apply Plumber’s Putty or Silicone Sealant: Roll the plumber’s putty into a rope and press it around the underside of the drain lip, or apply the silicone sealant as per its instructions.
Step Three: Installing the Shower Drain
Insert the Drain: Then place the new shower drain into the drain hole, ensuring it fits snugly.
Tighten the Drain: Using your wrench or pliers, tighten the shower drain onto the drainpipe. Be careful not to overtighten, as this can cause damage.
Seal the Connection: Apply the plumber’s tape around the threaded part of the drainpipe for a leak-proof connection.
Attach the Drain Cover: Secure the drain cover to the shower drain according to the manufacturer’s instructions.
Step Four: Testing the Shower Drain
Check for Leaks: Finally, turn the water supply back on and run water into the drain to check for leaks.
Adjust as Needed: If you notice any water seepage, turn off the water, tighten the connections, and test again.
Patience and precision are key to a successful shower drain installation. However, if you encounter any issues during the process, it may be time to call on a professional.
Other Recommended Maintenance
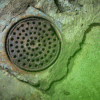
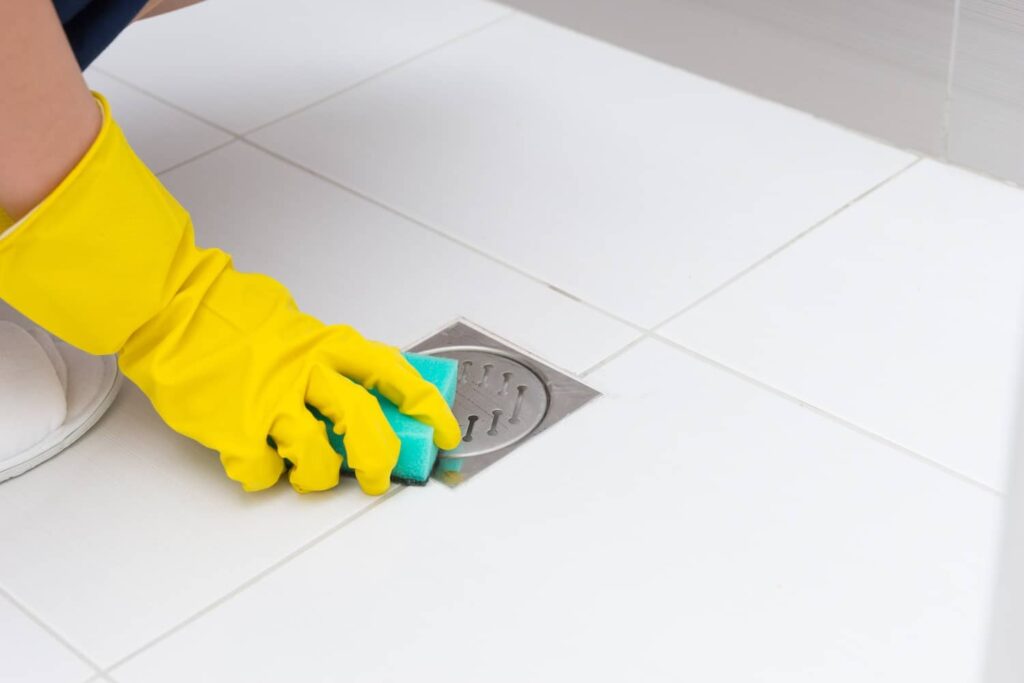
Taking care of your shower drain extends its lifespan and ensures efficient operation. Regular cleaning is essential, which includes removing the drain cover and using a tool like a drain snake to clear any buildup of hair or soap scum. Also, a drain protector can help prevent debris from entering the drain, and periodic use of baking soda and vinegar solution can help break down minor clogs and keep the drain smelling fresh. Of course, recognizing when your shower drain needs maintenance is an important aspect of home care.
Slow-draining water or an unpleasant odor emanating from the drain often points to a clog or buildup of bacteria. Regular cleaning can often resolve these issues, but the persistence of these problems may indicate a need for professional intervention.
When to Call a Professional
While regular maintenance and minor repairs can often be handled independently, there are circumstances when calling in a professional plumber is advisable. If you notice water leaking from the shower base or appearing in surrounding areas, this may signal a faulty drain connection or a more serious underlying issue.
Additionally, if you’ve attempted to clear a clog but the drain is still not functioning properly, it could be a sign of a more stubborn blockage deeper within the plumbing system.
In these cases, a professional plumber can accurately diagnose and efficiently remedy the problem, preventing potential water damage and ensuring the continued functionality of your shower drain.
Conclusion
Installing a shower drain may seem intimidating, but with the right tools, a bit of knowledge, and a sprinkle of patience, it can be a successful DIY project. However, if you find yourself facing a stubborn issue or would simply prefer a professional touch, don’t hesitate to call in someone with experience.
From plumbing inspections to detailed advice, the experts at Avalon Home Inspections are committed to helping you maintain your home’s comfort and safety. Don’t let a small problem turn into a major headache—reach out today!